 I'm on a budget. I can chose to spend hundreds (or thousands) on a Camera, Lenses, Light Tent, Reflectors etc. or I could pay someone with all that stuff to take shots. Unfortunately, I don't earn enough for a $2000 investment (or more) - where I'd prefer to put my money towards materials (or a vacation! please??!)
Please scroll down to see some of the excellent tips provided by others as well.
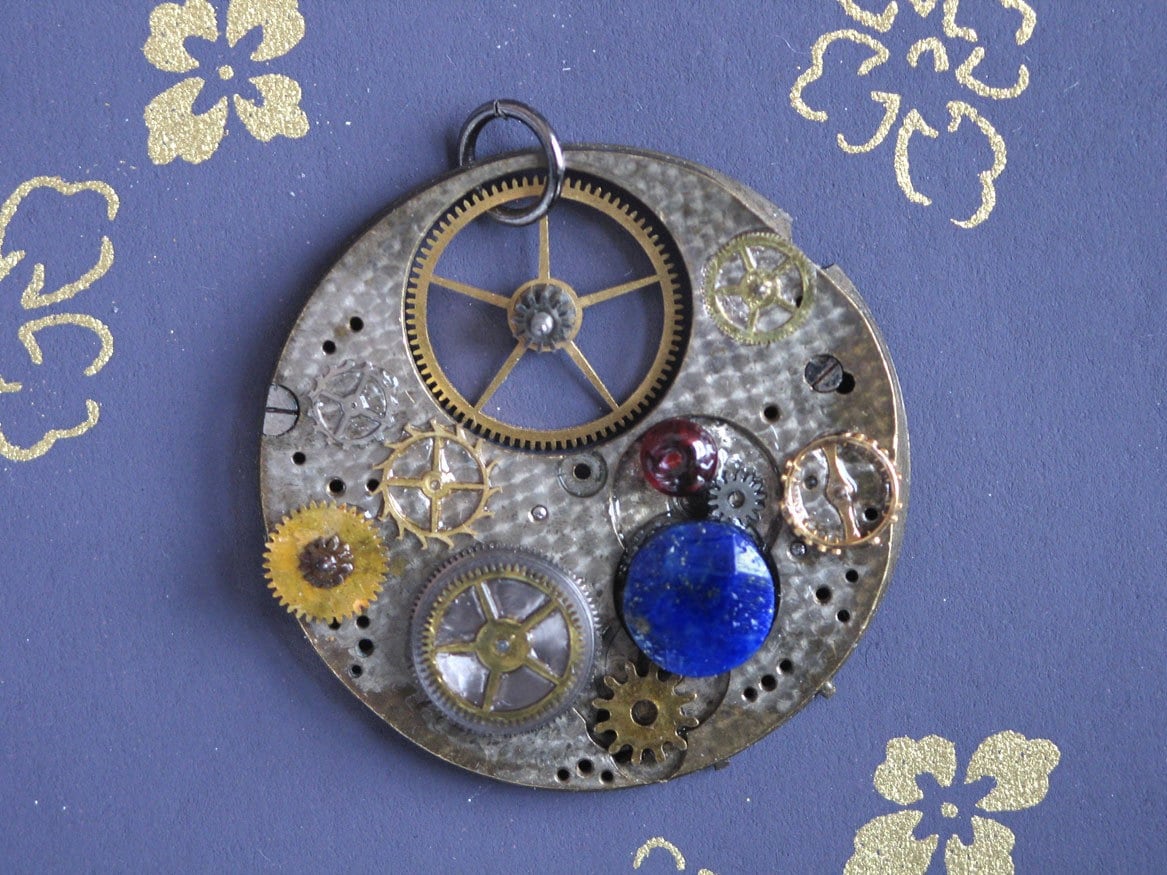
I did stock photos for a few years - and wow. did i learn a lot (and make little). Basically though, I'm pretty confident about my photos of the steampunk jewelry. They might not be the best/ most original out there... but they are detailed, focused and well lit.
I shoot all my jewelry in my kitchen where I get a lot of light. Sometimes, a bit too much light ... so I have some light gauzy curtains to help cut the glare. I'd love to buy a light tent - or made one - but I don't have time/space for all that.
I can get the results using a few simple things:
1. Tripod
2. Reflector
3. A non-SLR digital camera. It has a "live view" that allows me to compose the shot, do adjustments and check things like: White Balance and Exposure.. I use my trusty Canon G6 - which is now about 4yrs old and I bought a 2nd one off ebay for $200. FANTASTIC camera - sharp - lots of manual options - and does the job.
1. Tripod:
a tripod is a must! It doesn't have to be a full sized one - I've got 2 small tripods - but the thing it should do is allow the camera to point straight down towards the object you are shooting. That way, all you need to do is lay it out, arrange it and focus. I also use the timer on my camera - a 2 second delay - so there's no problem with camera shake when you press that button.
I used this tripod for a while but I have a slightly larger one now. I got it on sale at a camera shop for $15. I've been awesomely happy with this one: a Celestron Tabletop Tripod... which is $15 as well. Sturdy. I'd recc. it for most jewelry photography.
2. Reflector:
This helps eliminate shadows. If your light source for example is from the right side you'll have shadows on the left of the object unless it is incredibly flat. My jewelry might only be .5cm thick but it still casts shadows... so to eliminate those annoy shadows that can distort your object, place a reflector on the left side. It will bounce the light and get rid of a lot of shadows. You'll see these sometimes called "Bounces" for this reason
A reflector can be an expensive, but worthwhile investment for $50 + or it can be as cheap as a piece of bright white cardboard. I've used both. If you have an external flash you can point it at the white board and it will bounce off without giving you horrible flash-shadows and reflections. So costs can be $1 for some bright white card stock.
You should avoid using (imho) the flash units on most cameras... especially if you don't want - can't afford to spend a lot of money.
3. Cameras:
Do you need an expensive camera? Not for this work.
On my etsy site they ask for images about 1000px. - which is about the smallest my old G6 will take - I actually resize them down for etsy.com but I keep them larger for my Flickr. You *CAN* take great shots with a point-and-shoot camera - and a lot of them have manual options as well. (the canon G5 is a cheap cheap used camera that will be worth the investment if you are looking for jewelry photography camera for the web). Sure, people will tell you you Must Have X. But save your cash... unless you are planning on doing jewelry photography for a living. And even then, it can cost you more in camera gear than you could sell in 5yrs of jewelry making.
Who cares what megapixel! Its going on the web. You don't need 10 mpx to resize and throw out 9megapix of your photos. Look at used! Save that money! :D
Other Tips:
If you are placing an item - say a painted cup or glass - near a wall - make sure it is far enough away from the wall so it doesn't cast a shadow.
Use natural light - it often provides the best light but avoid strong direct sunlight... avoid those shadows!
Most of my photos have the brightness and are contrast adjusted, some times some dodging and of course cropping.
If you're having problems with the focus you are probably too close. Back up a bit, try it again. Don't forget you can crop down your image.
Get / learn some basic Photoshop. Even the older editions are worthwhile. If you are looking at using a different program make sure it has "Brightness/Contrast".
Use a light / bright - fairly neutral background. Try a few different colourful ones but remember the background should compliment and not distract from your product. Try different materials: lace, a scarf, some interesting prop.
Make sure your background - if it is dark especially - is free from dust. After you've laid out your jewelry - blow the dust away. Even if you can't see it, sometimes it will show.
Buy some lovely paper. A few sheets of handmade papers are a worthy investment.
Plan it out - take a bunch of photos at once - just swap out that paper! Later on you can review it all and chose a variety of shots.
================
Additional Tips from other helpful etsy people:
mamabetsy - who has some great close up shots in her shop suggested:
"people can use wax or tissue paper on the window to filter the light. I like to see different angles and hopefully the piece hanging, if that is appropriate. I think that focus, lighting, and clarity are key as well as keeping a consistent non cluttered look."
Good luck and good shooting! Lemme know if you have any ideas / suggestions or things to add to the Tips.


